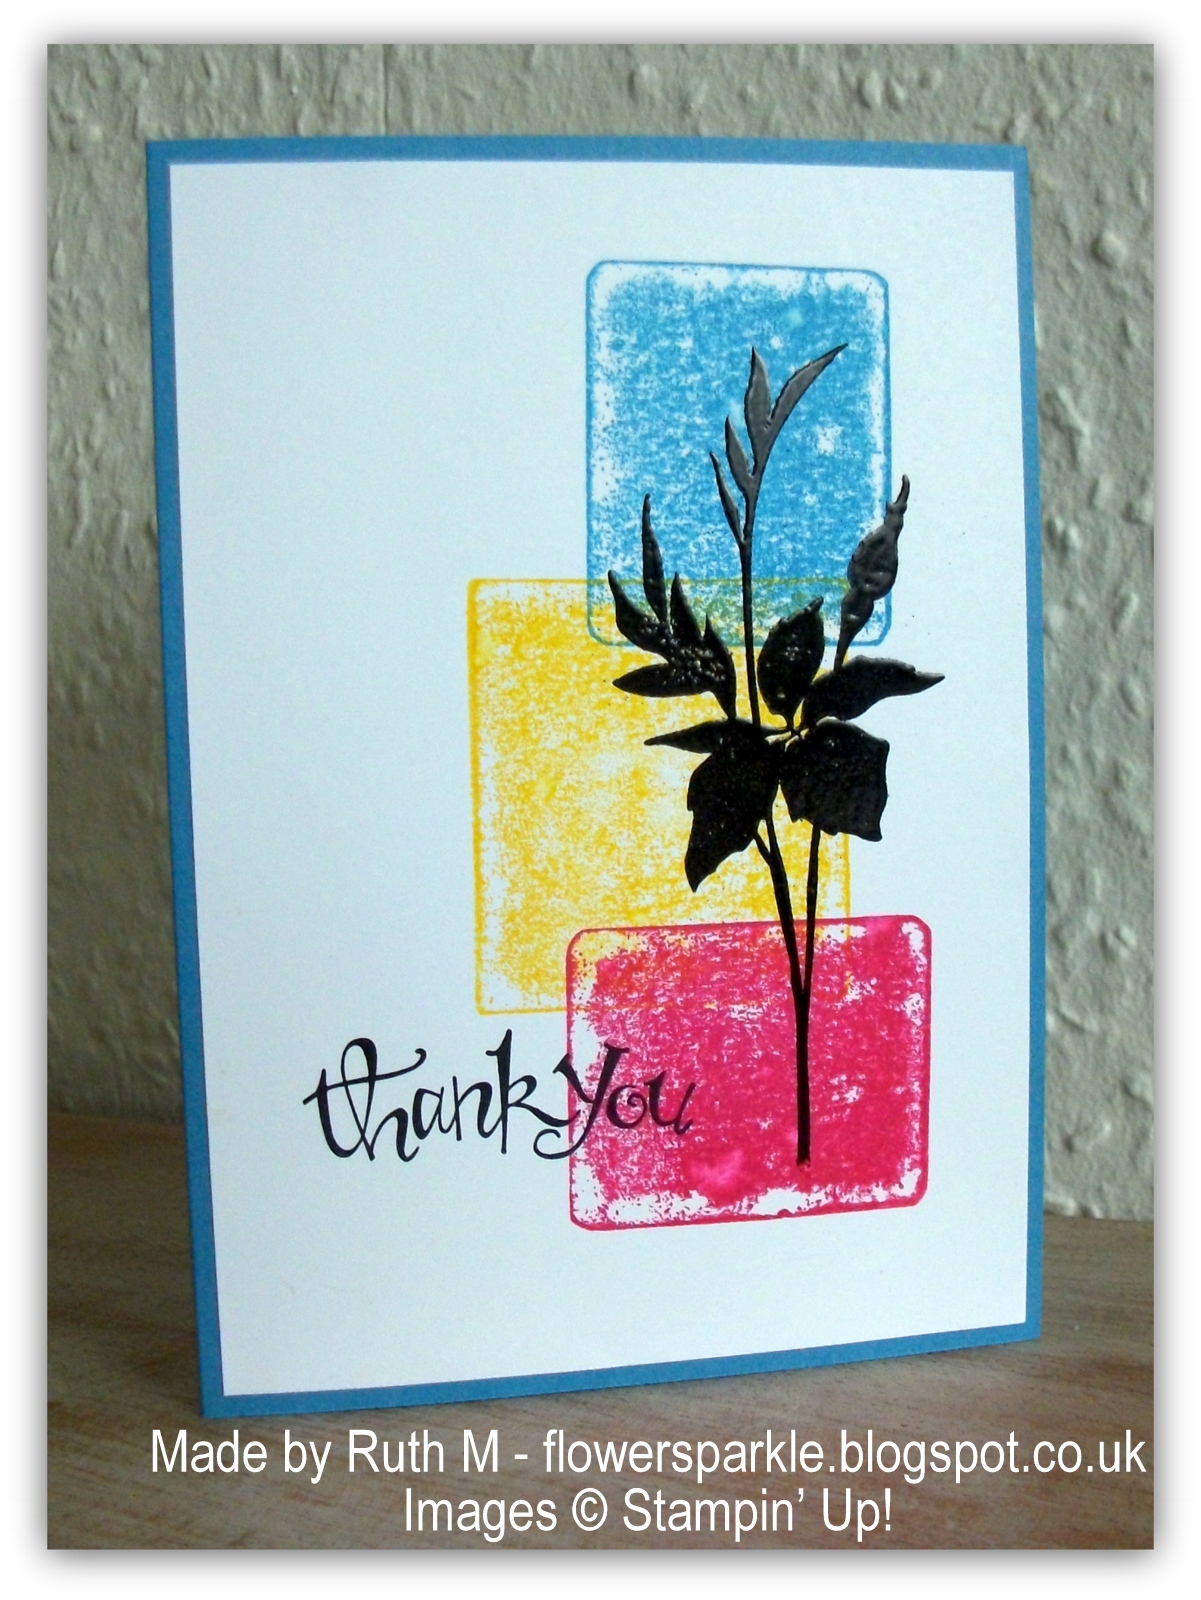
This card uses the technique of inking up clear mount stamp blocks to get a colour block background. You apply ink to the block, lightly spritz with water and stamp. The ink colours we used were Marina Mist, Daffodil Delight and Melon Mambo. We stamped the sentiment in black ink and stamped the Fabulous Florets silhouette image in VersaMark and heat embossed with black embossing powder. The shiny black image pops beautifully against the bright blocks of colour!
The second card gave me the chance to play with some fab new products from the Spring/Summer catalogue - the Hearts a Flutter Framelits dies, the Print Poetry DSP Stack and the Designer Builder Brads. We die cut the banners, assembled and added the brad, stamped the sentiment and glued on two linen thread bows. Such a simple card to make but very stylish I think - and would be a great masculine card!

A bright and pretty anniversary card next using the cheery Sunshine and Sprinkles DSP. We trimmed the paper strips into banner shapes, glued them to the white panel and then die cut the heart out from the panel. When the panel was glued to the Marina Mist card base, the blue shows through the cut out heart. We die cut a Melon Mambo heart, embossed it with the heart design folder from the Adorning Accents Folders set and popped that heart up. Some rhinestone jewels add a touch of sparkle - lovely! Before I added the jewels and popped up the heart, I decided I'd be clever and add a little touch of my own. I thought some scored lines would look fab so I flipped my white panel over and scored some lines using my Simply Scored board. Hmmm, I forgot I'd already stamped the Happy Anniversary sentiment and of course, I couldn't see it 'cos you emboss scored lines from the back. So when I flipped the piece back over I saw I'd embossed lines right through the sentiment - not a good look and not clever at all LOL! Remembering the crafting motto "there's no such thing as a mistake, just an embellishment opportunity" I stamped the sentiment again on a separate piece of CS, cut it out with the Word Window punch, inked the edges and covered up my boo boo!

Inside we cut out a heart from the white panel and added the patterned paper heart we had left over from making the card front.

Time for another thank you card, this time using the fab Madison Avenue stamp set that is a Sale-a-bration set and the Curly Cute set. Some Stamp-a-ma-jig work was required here in order to stamp the leafy images and the tiny accents. Brads were used to embellish and 1 1/4" and 1 3/8" circle punches were used to cut out the circle element. I popped up the Very Vanilla circle. I love the Baja Breeze, Midnight Muse and Old Olive combo with the Very Vanilla!

Next is a birthday card with a sweet dress and cardie - LOVE that! I have had a great time playing with the Dress Up Framelits dies and I lent the die set to Joanne. I was so chuffed when I saw she had designed a dress card for us to make! We gave the Very Vanilla panel a fancy edge by die cutting with a Finishing Touches Edgelits die, stamped the sentiment and added the patterned paper strip. Both of the dress dies from the set are needed to make the dress and cardie. We die cut the sleeveless dress from patterned paper and then cut the sleeved dress - just to the waist - from Crumb Cake CS. We sponged the edges of the the dress and cardie with Soft Suede ink and then glued the dress and cardie together and attached that to the dress form die cut - I popped the dress and cardie up. Teeny tiny pearls are the cardie buttons - such a sweet touch!

The 6th and final card is this butterfly trio birthday card made using a yummy colour combo of Pool Party, Primrose Petals and Crumb Cake with Very Vanilla. Before gluing the vanilla panel to the card front we embossed part of it with the Fancy Fan folder, stamped the sentiment and added the strip of Crumb Cake seam binding ribbon. We used the Bitty Butterfly punch to cut out butterfly shapes from Very Vanilla CS pieces which we then cut out with the Postage Stamp punch. We layered onto squares cut out with the 1 3/8" square punch and popped the squares up. I did all the prep work for this card at Joanne's but assembled it at home. I just couldn't resist adding rhinestone jewels to the butterflies!

Joanne has to put such a lot of work in designing the cards and prepping the baskets and has to remember not to double up on any supplies or colours! I'm sure you'd agree, Joanne did a fab job and came up with a lovely selection of cards, I know I enjoyed making all of them!

2 comments:
Well what can I say, what a great collection of cards and I am so jealous you got to craft all these with friend! I love the acrylic block card, I have tried this but my card wasn't a success but you have done a great job. And the dress card-perfect! My favourite is the second thank you card, love how you have used these stamps and love the CAS effect x
A gorgeous collection of cards Ruth - love the dress - it has a lovely retro look to it - Jacqueline xx
Post a Comment